| Scott's Atlas / Craftsman 101.07403 12x36" Lathe, modifications and projects. Stone Mountain, GA | Unique Visitors: |
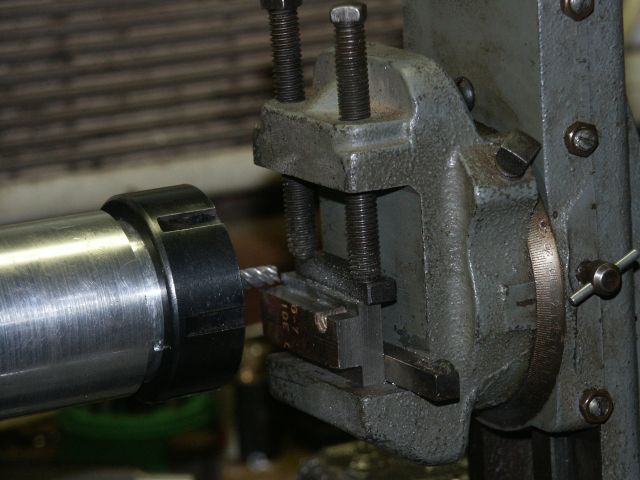 |
Had a piece of cast iron just the right thickness for the T-nut. It had a threaded hole in it but it is not a problem. Using the milling attachment and a collet holder, I milled the notches in the T-nut. I started with a 1/2" bit but it jammed and broke when the milling attachment came loose. I found the pins had worn too short and the set screws were bottoming out. So, used a 1/4" bit. This is the last pass. One ear is a bit bigger than the other as I did an extra pass after the bit shattered and chewed it up :(. |
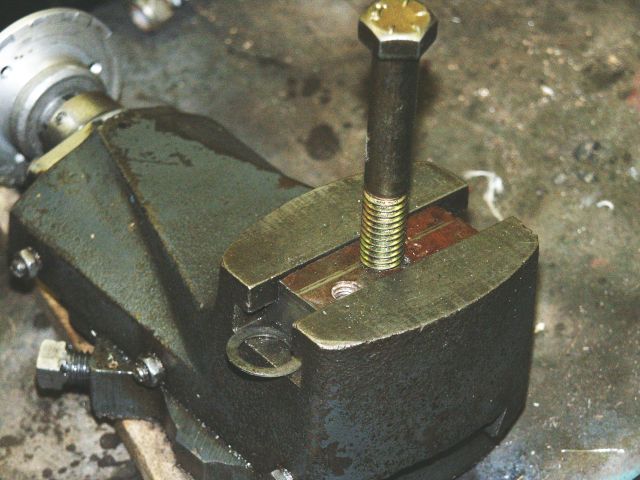 |
Drilled a 3/8" hole using a drill press. Could be done on the lathe using a 4-jaw chuck. Tapped it for 7/16-14. Now with a T-nut, I can progress onto making a tool post. Again, A T-nut can be made using a hack saw or one from another tool post can be used. You can turn a T-nut without a milling attachment; the steps are described here. Drill and tap the center. I use 7/16-14" bolts as it is a good size and I had one. 1/2-20 will work well too. |
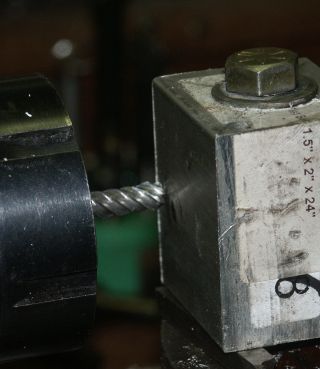  |
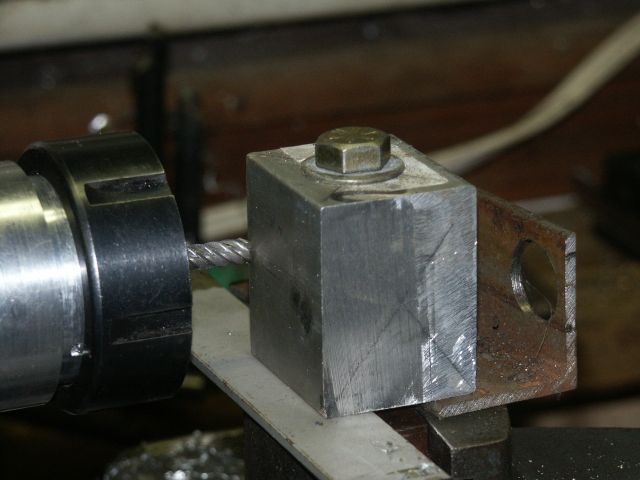
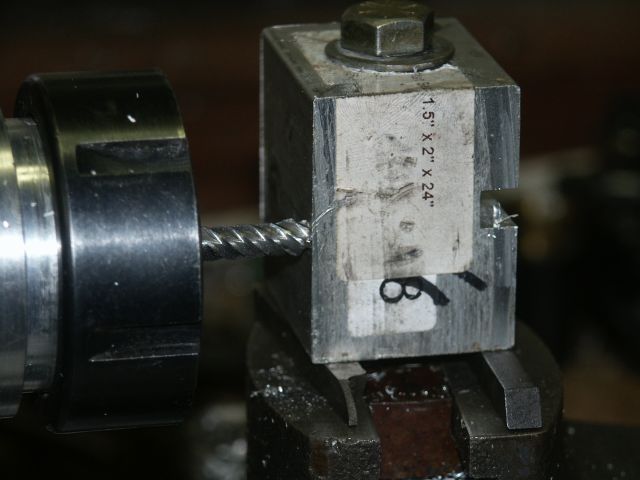
I started with a 1.5 x 2 x 1.75" block of 6061 aluminum. Steel would be better but this is mainly as a test and I had the metal around. I used a collet chuck with an end mill. A 3-jaw can be used or a 4-jaw. Just use light cuts as a regular chuck can not hold the bit real tight. A 3-jaw chuck will work but the mill will likely be off center. So one flute will do most of the work. You will need to do light cuts. A better option is to make an arbor. Mount a round bar in a 3-jaw and center drill for the milling bit. The add a set screw to hold the bit (cutters with flats are better for this.) Even better is to get a MT3 blank and bore for the tool bit and make a drawbar to hold the arbor. Note: I cut the block 1.75" tall but my band saw cuts at a slight curve. So I decided to flip it so the factory top/bottom 2" edges will be up/down. this makes it a bit tall. For a 12x36 a 2" cube will work well, 1.75" is a good height. You will need to make sure the face is square. The two pictures on the left show the milling bit on the rear and front of the side. Adjust the block so the bit has the same clearance front and back. |
 |
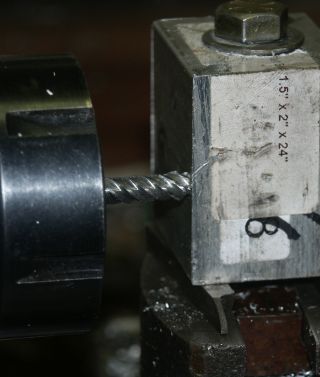
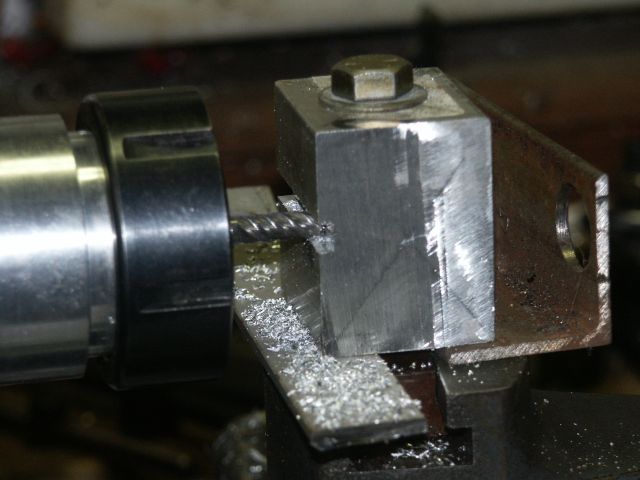
Ok, this is the complicated part. For a 1/4" slot, we need the top of the tool to be centered on the spindle. So it needs to be cut with the bottom 1/4 below center. So, 1/4 milling bit is 1/8" above/below center. So, we shim the block up 1/8". Now we can start cutting a slot. |
 |
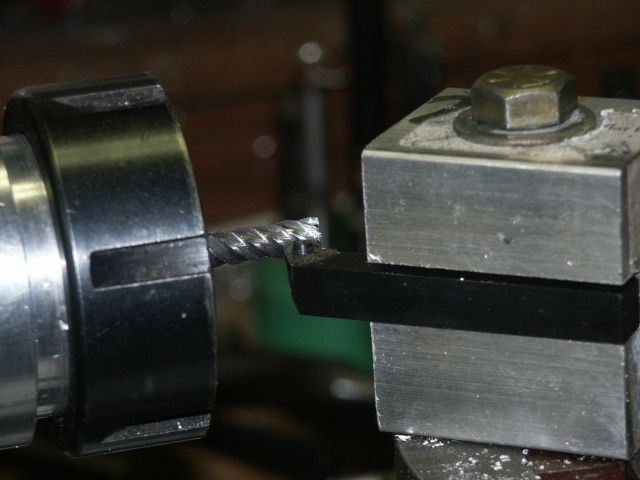
Ok, now were are cutting the slot. This is a LATHE not a MILL! So we need to do light passes. Use a fastest spindle speed and slow manual feed. I did about 8 passes to get just over 1/4" deep. Once done a 1/4' bit may fit, but will be tight. I prefer bits to be just slightly lower than center. So I added a paper shim and did another pass. |
 |
Now starting the other side: This side I want to do a 3/8" slot. So we need 1/4" shims to get the lower dimension. Then repeat with 1/8" shims to widen the slot to 3/8". Actually, I used some washers about 1/16" thick. That makes the slot a bit taller than 3/8". For 5/16" bits, I would use the 3/8" slot and add a 1/16" shim under the tool bit. |
 |
Came out perfect, bit is centered. All that is needed now is to add some set screws down from the top to hold the tool bits. I have some 10-32 Allen-head cap screws that I will use 3 on each side, maybe 4. |
 |
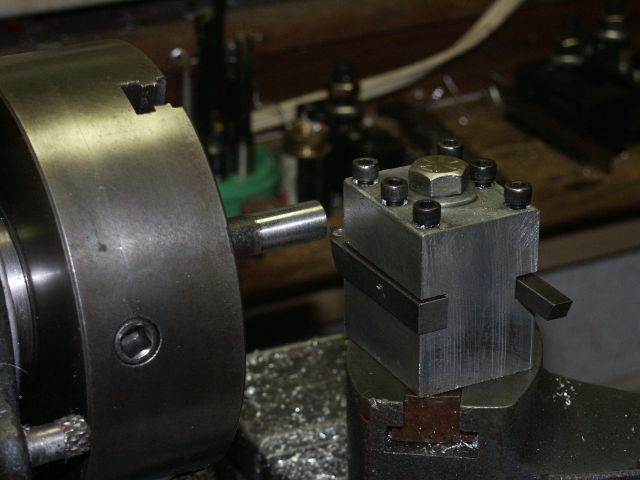
Ok, now I'll make a boring bar holder. Actually the same holder can be used, but I wanted a bit wider one. This is 2.75" long No fancy calculations, just mount the block square and drill a hole. I have a set of 1/2" shank boring bars. Here is drilling the first pass. Again, using a collet chuck, a regular chuck will work fine. I do use a slower speed. Check your boring bars if the cutting edge is on center. You may need to shim the block to adjust the hole height. |
 |
Almost done. boring bar fits fine. Just need to add some set screws. Will finish up, add set crews, clean up edges and so on. Actually, the boring bar hole could be a bit closer to the center. Then I could cut slots for tooling on either end. Or I could cut slots along the sides. A block 2.5" on each side could make a 4-way post. |
 |
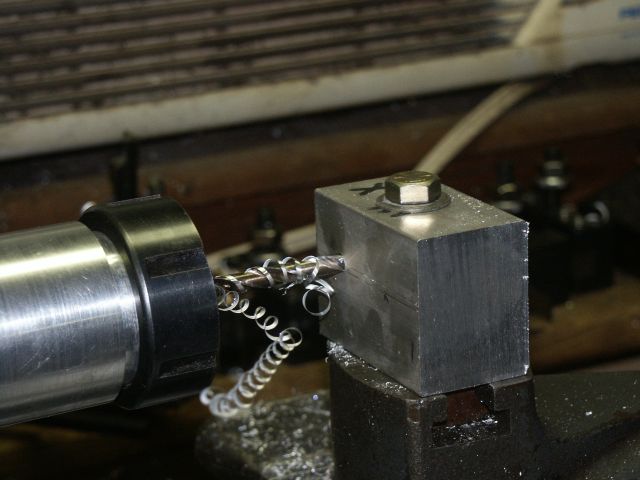
Here's the first one in use. Works well. I have a few 1/4 bits but never used or ground them to shape. I may grind this one to do threading. |
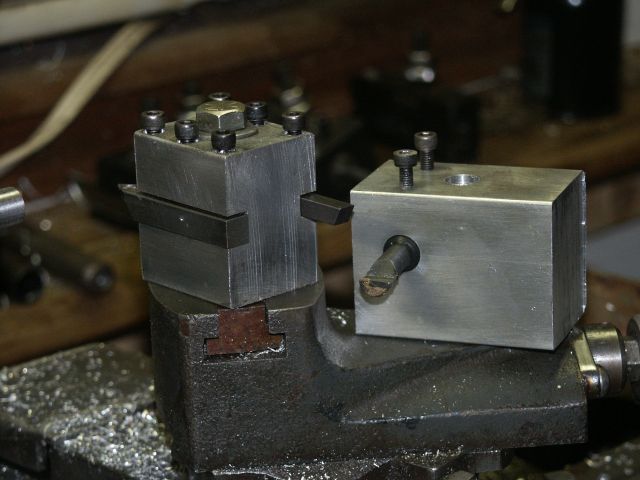 |
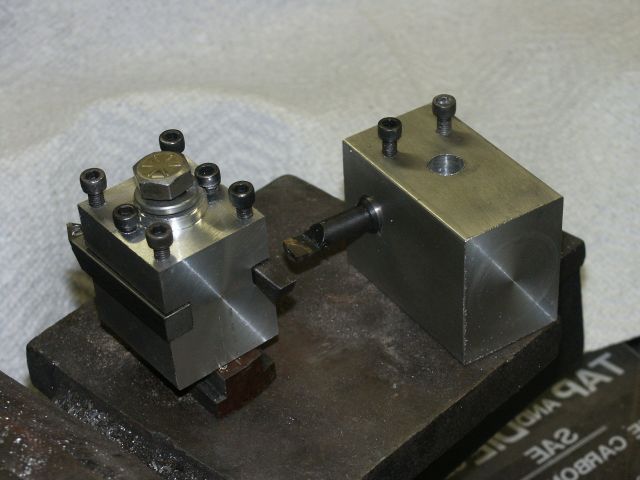
Both are finished. I'll leave the other sides of the second one plain so next time I need something, I can just add it. ;) |
 |
Mounted them in the 4-jaw check and squared up the ends.
I also shortened the left one a bit but left the center raised. The bolt was real close to the set screws. I cut the center ones a bit shorter. |
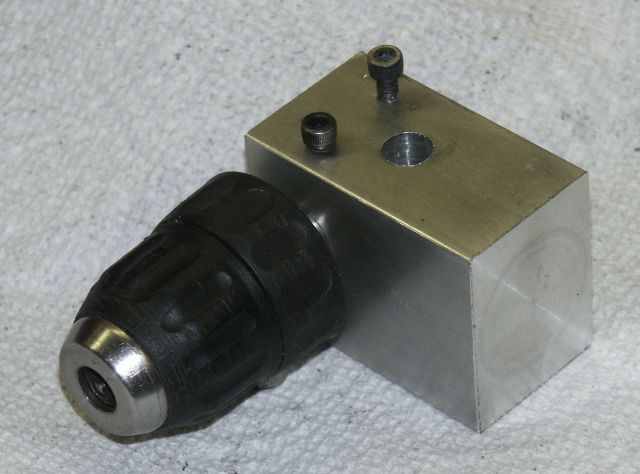 |
I forgot I had this in my box of junk. An old 1/2" arbor for a chuck. It fits in the boring bar holder with no changes. It even has a flat on the shaft. Had an old key less chuck from a broken cordless drill. Will be nice for doing drilling longer than the tailstock ram can handle. Don't think I'd trust it for a power feed, but that is possible. You could get fancy and bore a Morse taper to match the tailstock ram. Then you could use the same chuck on both. An arbor is easy to make though. Most 1/2" drills use a 1/2-20 thread. Just turn a bar and thread it with a shoulder. Chucks are easy to get at most hardware stores. |